1. Sun Exterior.
To create the spike effect of the model, I selected the individual vertexes of the sphere and dragged them away from the sphere, but this resulted in a bulging effect. As this was not the desired appearance, to overcome the effect I selected the faces of the bulges and used the cut faces tool before extending the points and rescaling the bases of the spikes.
2. Secret Lair.
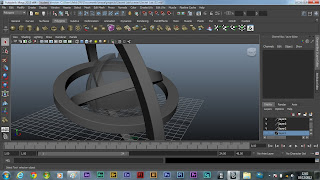
Once the sun exterior was complete, I focused on the structure of the lair, which consists of a central glass sphere and several gigantic rings than spin round the lair.
3. Central Sphere.
Seeing as the default shader is utterly non-transparent, I placed a temporary Lambert shader on the central sphere, altering the transparency so that the interior would become visible.
4. Secret Lair.
5. Secret Lair.
Once the modelling of the lair exterior was completed, I setup a camera, ready for the final rendered of the image.


No comments:
Post a Comment
Note: only a member of this blog may post a comment.